Restoration Rusty Knife - For What the Round Edge?


Screws And Tools
@screwsandtoolsAbout
Hello I'm Alex! Thank you for attention and welcome to my channel. Screws and Tools is a channel dedicated to restoring old, antique, vintage, and rusty tools. I cover woodworking, metalworking (including non‑ferrous metals), leatherworking, knife making, and various DIY projects—all produced by me alone. I restore items such as knives, Caucasian daggers, swords, shashkas, sabers, cleavers, axes, and kitchen tools, continually honing my craft. And importantly, I always show my mistakes—because when you watch my videos, you learn not only from what works, but also from what doesn’t. I hope you enjoy my videos—thank you for watching! I truly appreciate every visit to my channel. Don’t forget to subscribe and join me on this restoration journey!
Latest Posts


Video Description
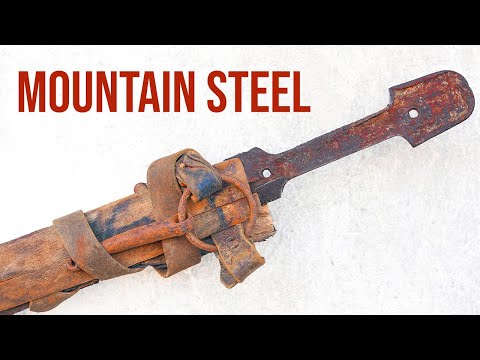
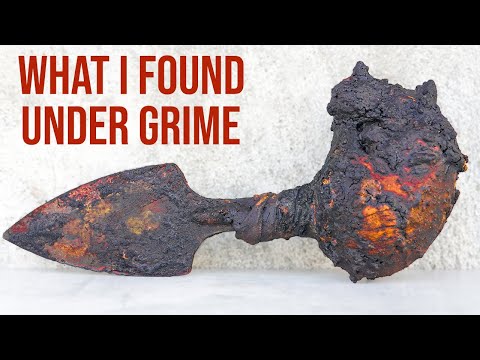
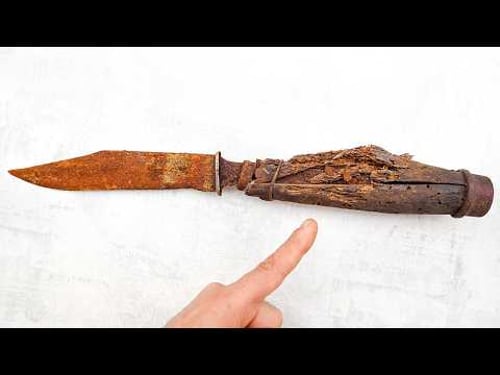
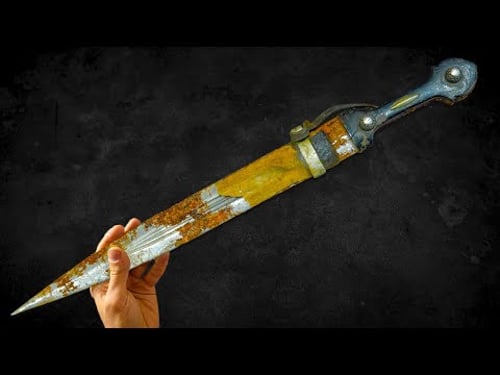
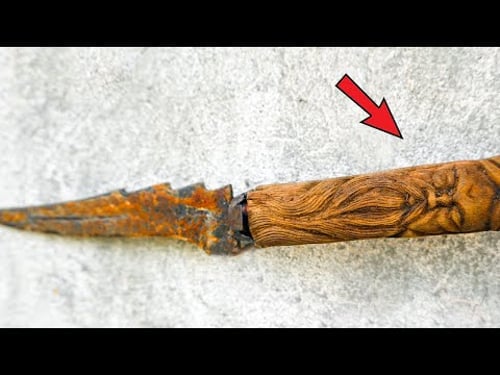
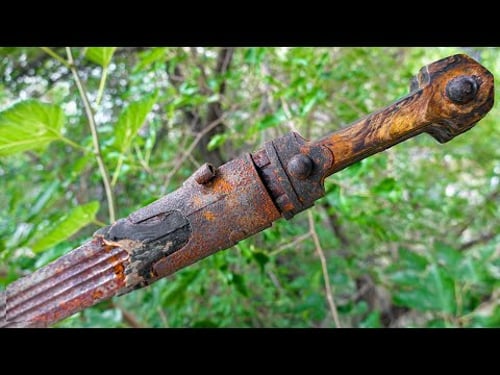
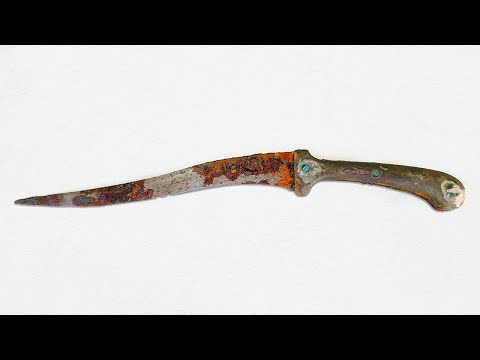
Today, I’m restoring an old rusty knife that I found at a flea market. What caught my attention was its unusual rounded edge — quite strange and unclear why a knife would have that. The steel is of good quality, though the condition was poor. Time to restore that. First, I removed the old, cracked, and rotted handle. Then I placed the knife into a rust remover for several hours. After that, I soaked it in warm water with baking soda to neutralize the acid effect. Next came the cleaning process. I started with a soft wire brush to make sure there was no stamps, then moved on to light sanding. I wasn’t aiming for a polished shine — just to clean the surface and remove light corrosion. After sanding, I worked on shaping the edge. I corrected the bevels by hand and gave it a light sharpening. Then I turned to the handle. I used dry wood, but unfortunately, the first piece cracked during shaping. I switched to another piece of seasoned wood, and this time it worked out. Once I carved the slot for the tang, I added brass and leather elements. Everything was assembled using epoxy resin and secured with an extra pin. After drying, I shaped the handle by hand, treated it with linseed oil, and sealed it with a brass pin. I also decided to make a simple leather sheath — not full scabbard-style, but more of a storage cover. I used medium-thickness leather, cut out the shape, glued and stitched it, finished the edges, and treated it with linseed oil. And finally — the test! It’s going to be a delicious one, so don’t miss it. A separate link will take you to the cooking video. Please share this video. Thanks. Full Cooking video: https://youtu.be/wOJcQImookI?feature=shared Sincerely, Alex. Thanks for attention! Good luck and health to everyone! With best wishes, Alex! Please subscribe to my channel: @ScrewsAndTools 🍖 My New Cooking channel! @screwsandtoolscooking Patreon: https://www.patreon.com/Screwsandtools Paypal: paypal.me/screwsandtools Facebook: https://www.facebook.com/scresandtools/ Instagram: https://www.instagram.com/screwsandtools/ #screwsandtools #knife #restoration


Revive Old Knives Today
AI-recommended products based on this video

Victorinox Swiss Army Classic SD Pocket Knife, Camo

SwissQlip Deep Carry Pocket Clip Compatible with 91mm Victorinox Swiss Army Knife Models (Black)

Victorinox Huntsman Swiss Army Knife, 15 Functions, Swiss Made Pocket Knife with Large Blade, Screwdriver, Scissors and Wood Saw - White

Victorinox Swiss-Army-Cutlery Rosewood Curved Boning Knife, Semi-Stiff Blade, 6-Inch

Victorinox Swiss Army Multi-Tool, Evolution Pocket Knife

WGGE WG-015 Professional 8-inch Wire Stripper/Wire Crimping Tool, Wire Cutter, Wire Crimper, Cable Stripper, Wiring Tools and Multi-Function Hand Tool(ONLY Sold by W&G Global Electronics INC)

3 4 5 Year Old Girl Gifts, Exssary Kids Knife Set for Real Cooking Toys for 3 4 5 6-8 Year Old Girls Montessori Toddler Kitchen Tools Cutting Board Knives Birthday Gift Girls Toys Age 4-6 7-10 Pink