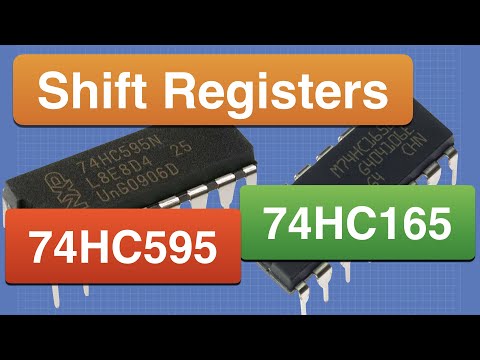
74HC595 & 74HC165 Shift Registers with Arduino

DroneBot Workshop
@dronebotworkshopAbout
Welcome to the Workshop! The DroneBot Workshop is the place where I work with Arduino, Raspberry Pi, ESP32, and lots of other cool microcontrollers, components, and sensors. This is a channel for learning and understanding. While I do build projects, most episodes focus on showing you HOW things work, so you can use the information to bring your own designs to life. Every video has a corresponding article on my website at https://dronebotworkshop.com , along with the diagrams and code samples you’ll need to build your own creations. You can also participate in discussions on my Forum at https://forum.dronebotworkshop.com. Please note that I no longer do any sponsored videos, enquiries for these will be ignored! If you'd like to know more about me or the DroneBot Workshop you can read the FAQ at https://dronebotworkshop.com/about-dronebot-workshop/faq/ And if you have technical questions please ask them on the Forum. Welcome to the Workshop! I hope you enjoy your stay! Bill
Latest Posts

Video Description
Expand your Arduino with shift registers! Today I will show you how to use the 74HC595 and 74HC165 to increase your Arduino's inputs and outputs so we can flash a bunch of LEDs. Article with all the code: https://dronebotworkshop.com/shift-registers/ More articles and tutorials: https://dronebotworkshop.com Suggest new content and meet new people - join the forum: https://forum.dronebotworkshop.com Get the newsletter and stay in touch: https://dronebotworkshop.com/subscribe/ Shift registers are sequential logic circuits that can be used to convert between serial and parallel data. Really exciting stuff, right? Well although these fundamental building blocks may not seem that thrilling, they can be really useful in expanding the number of digital outputs and inputs on Arduino and other microcontrollers. Today we will work with two common 8-bit shift registers, the 74HC595 and 74HC165. We will use the 74HC595 to drive eight LEDs with just a few connections. By cascading these chips we can drive a lot more LEDs. We will also use the 74HC595 to drive a 7-segment LED display. After that we will hook up eight push buttons to a 74HC165, reading them all using just a few I/O lines on our Arduino. And finally, we’ll put both chips together and build a really fun LED light sequencer with eight different flashing patterns. Here is a breakdown of this extensive coverage of shift registers with the Arduino: 00:00 - Introduction 03:03- How Shift Registers Work 07:32 - More outputs with the 74HC595 15:22 - Driving a 7-Segment Display 21:49- Extra inputs with the 74HC165 29:46 - 74HC595 & 74HC165 Together 34:30 - Custom Light Sequencer If you’d like to get the code I used to make all this magic happen just visit the DroneBot Workshop website where you'll find a full article to accompany this video. BTW, this video was suggested to me by some great folks on the DroneBot Workshop Forums. That’s the place to go if you want to suggest new content or just interact with some amazing people who love electronics just like you do. Join us today at https://forum.dronebotworkshop.com.
You May Also Like


Essential Shift Register Kits
AI-recommended products based on this video

DHT11 modules Digital Temperature and Humidity Temperature Sensor for arduino DIY KIT 5pcs