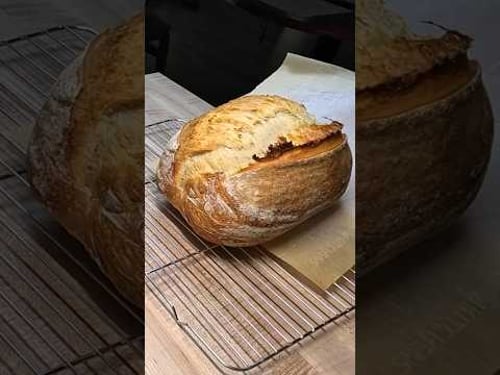
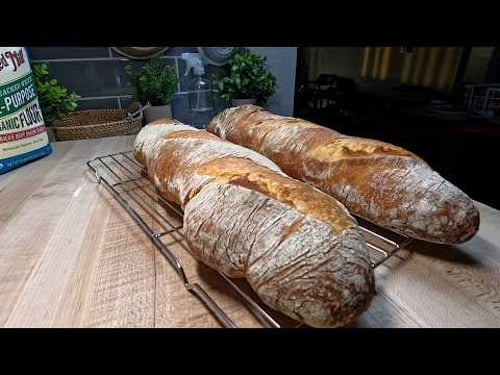
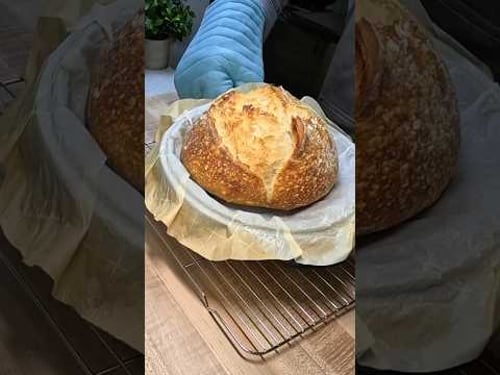
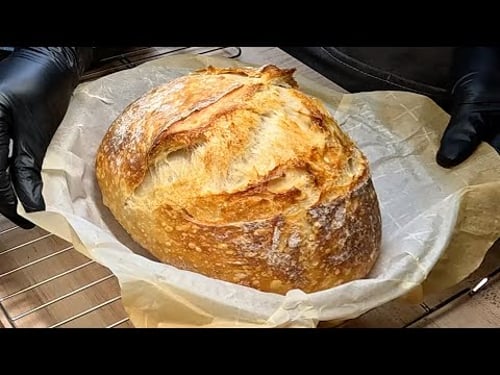
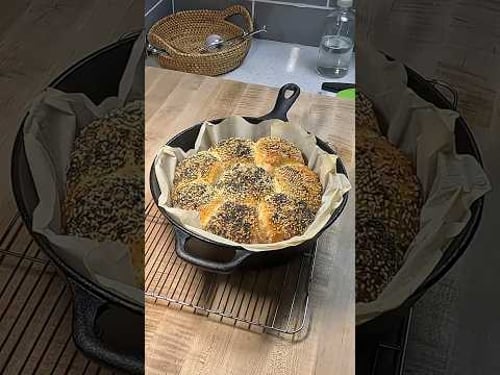
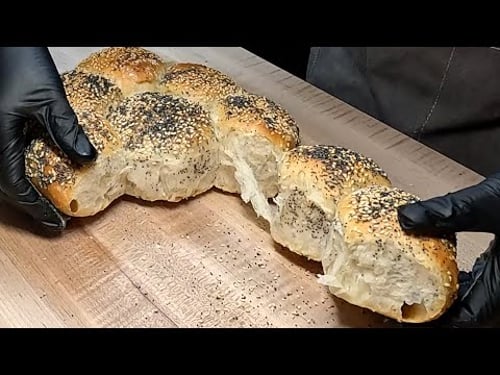
The Secret to a Perfect Crust and Crisp: The Cast Iron Bread Method

About
No channel description available.
Latest Posts

Video Description
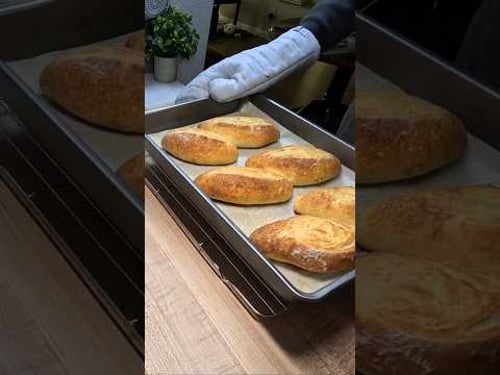
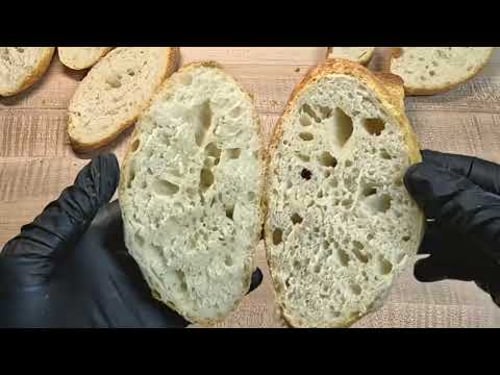
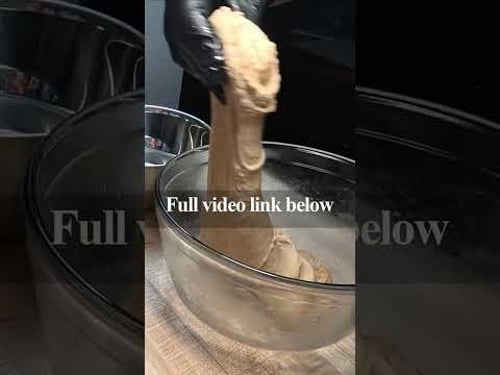
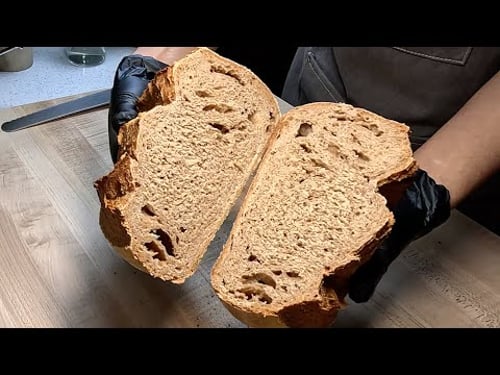
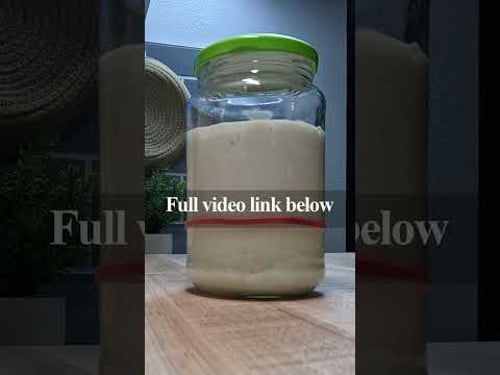
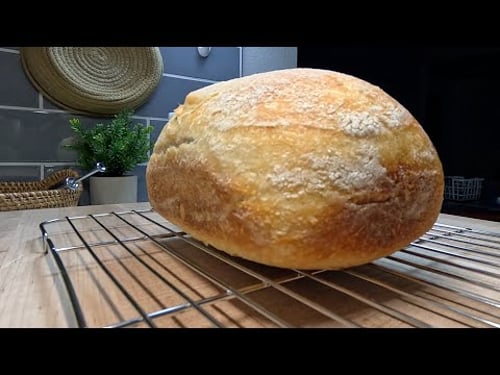
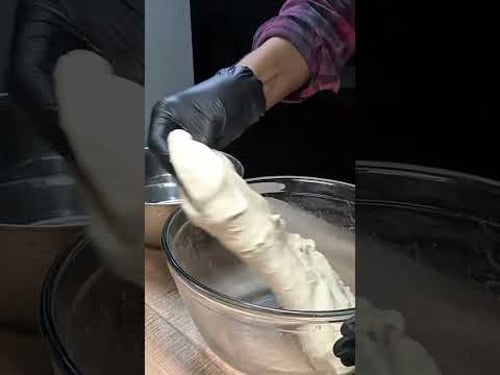
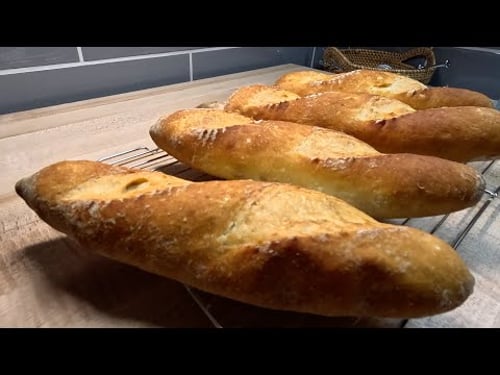
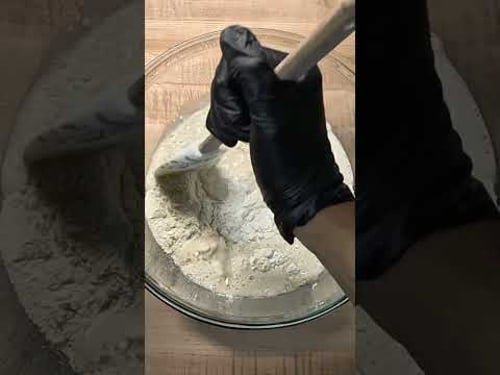
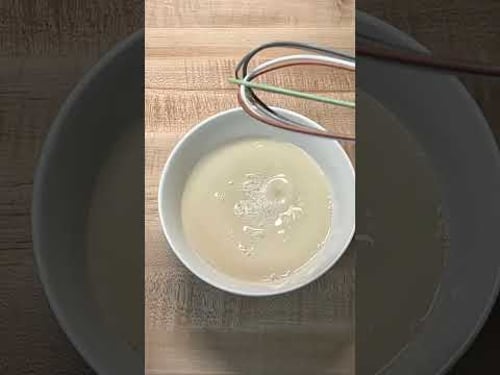
Get ready to bake the most delicious, crusty loaf of bread you'll ever have! In this video, I'll show you step-by-step how to use a cast iron pot (or Dutch oven) to create bakery-quality bread right in your own kitchen. The incredible heat retention of cast iron is the secret to a perfectly golden, crunchy crust and a soft, airy interior. This forgiving, no-fail recipe is perfect for beginners and seasoned bakers alike. We'll cover all the important details, from properly preheating your cast iron to getting that perfect "oven spring" and how to use parchment paper to make handling the dough a breeze. If you want more beginner-friendly baking recipes, hit that subscribe button! 👇 Recipe for proofing active dry yeast: Ingredients: Yeast: 1 Tbsp (17g) active dry yeast Sugar: 1/2 Tbsp (8.5g) granulated sugar Water: 1 cup(220ml) lukewarm water (105–115°F) Instructions 1) Warm the water. A water temperature that is too hot (above 130°F) will kill the yeast, and water that is too cold will not activate it properly. 2) In a small bowl, add the active dry yeast and sugar 3) Pour in the 1 cup (220ml) lukewarm water 4) Stir it well until everything dissolves. 5) Wait for the foam. Let the mixture stand undisturbed for 10 to 15 minutes. If the yeast is active, it will begin to bubble and form a frothy, foamy layer on the surface. Full Recipe: Cast Iron Bread Ingredients: Flour: 3 cups (360g) bread flour Salt: 1 tsp (6g) sea salt Yeast: 1 cup already proofed active dry yeast Optional: 1/2 Tbsp (8.5g) olive oil Instructions: 1) In a large bowl, add the flour, salt and the yeast mixture. 2) Stir with a wooden spoon until a shaggy dough forms. 3) Cover the bowl and let the dough rise in a warm place for 30 - 45 minutes, or until doubled in size. 4) Gently perform a few sets of stretch and folds over the first hour of the bulk ferment. 5) Place the covered dough in the refrigerator overnight (8–24 hours) for a long, slow fermentation that develops flavor. 6) The next day, turn the dough out onto a lightly floured surface. Gently perform a pre-shape to make the dough into a ball 7) Place the shaped dough, seam-side up, into the prepared, floured banneton. 8) Lightly dust the top of the dough with more flour, if desired. 9) Cover the banneton let the dough proof in the refrigerator for 3-4 hours 10) Preheat your oven with the empty cast-iron pot (lid on) to 500°F (260°C) 11) While the cast iron preheats, remove the dough from the banneton.Place a piece of parchment paper on top of the banneton, then place a baking sheet or peel over the parchment 12) Carefully flip the assembly so the dough is on the parchment paper on the baking sheet/peel 13) Score the top of the dough as desired. 14) Carefully remove the lid from the hot cast-iron pot. 15) Slide the dough (still on the parchment) into the bottom of the pot 16) Place the lid back on the pot, lower temperature to 450°F (232°C) and bake for 30 minutes 17) Remove the lid for the last 15-20 minutes of baking to allow the crust to brown and crisp up 18) Once the bread is baked, let it cool on a wire rack before slicing. #CastIronBread #HomemadeBread #BakingBread #DutchOvenBread #NoKneadBread #Homemade #Bread #Baking #BakingFromScratch #Foodie #Food #Recipe #BakingTips #EasyRecipe #KitchenHacks #HomeBaker #easybaking #BreadTok #DIYFood

No Recommendations Found
No products were found for the selected channel.