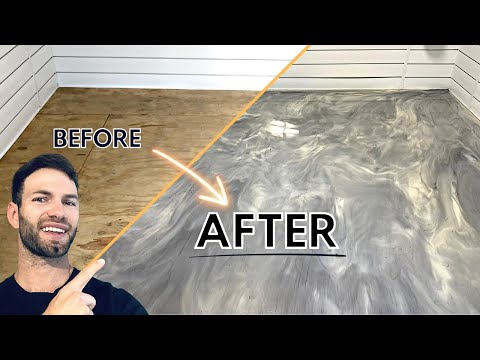
Epoxy Floor Coating Over Plywood Subfloor (Amazing Result!)
About
No channel description available.

Video Description
🧰🛠 Tools and Materials Used: https://amzn.to/3yCdRTY FREE Shed Framing Plans: https://atimprovements.com/modern-shed-free-plans-diy-step-by-step-building-guide/#FREE_Shed_Framing_Plans Learn how to apply an epoxy floor coating over a plywood subfloor with this DIY epoxy floor coating installation! I applied a metallic epoxy floor coating over my shed's plywood subfloor but this same application method can be used for any plywood subfloor (bathroom, bedroom, basement, etc.). Below are the steps you will need to follow to effectively apply an epoxy flooring system to a plywood subfloor. 00:00 - Introduction 00:32 - Prepare the Plywood Subfloor for Epoxy Application. 01:28 - Select Epoxy Floor Coating System and Products. 02:10 - Fill all Plywood Gaps, Cracks, etc. with Epoxy Crack Filler 04:39 - Apply Flexible Epoxy Primer 07:24 - Apply Waterborne Epoxy Primer 09:14 - Prepare and Mix Epoxy Color Pigments into Epoxy Resin 11:50 - Mix Part A and Part B of the Epoxy Floor Coating System 13:12 - Apply Epoxy Coating to the Plywood Subfloor Application Area 14:50 - Apply the "Accent Color" Epoxy (if applicable) 17:25 - Apply Protective Urethane Top Coat (Optional) 19:27 - Finishing Touches I am super happy with the Epoxy Floor Coating result I achieved within my shed. It completely transformed the plywood subfloor into an eye-catching and durable shed floor. Get the Shed Plans and Course Materials! ⬇️ https://bit.ly/3PeKr4V For additional information on applying an epoxy flooring to a plywood subfloor, check out my blog article linked here: https://atimprovements.com/epoxy-on-wood-floor/ In addition to the tools linked above, here is the Epoxy I used: 1. Drill: https://amzn.to/3JICKkk 2. Drill Mixer: https://amzn.to/3CcVtlT 3. Latex Gloves: https://amzn.to/3fQIE9t 4. Painter's Tape: https://amzn.to/3T4K5Q4 5. For the Epoxy Products Used, check out my Blog Article (https://atimprovements.com/epoxy-on-wood-floor/) and https://www.spartanepoxies.com/ Check out my other videos in the"Modern Shed Build Youtube Series". Introduction to the Modern Shed Series: https://youtu.be/zr0HnCBwrjo Shed Foundation Options: https://youtu.be/M0EI-FO7DuA How to Build and Frame a Shed Floor: https://youtu.be/9ZpD06daMeI How to Frame Shed Walls: https://youtu.be/nXjUerQh444 How to Frame a Shed Roof:https://youtu.be/Y_RChmd6YHA How to Install Shed Siding: https://youtu.be/CBfzH4OSYzE How to Install Shed Sheathing: https://youtu.be/NCvIUb0UjRs How to install Shed Trim: https://youtu.be/6bu6ob-pQm8 Inexpensive Shed Window Option (Acrylic): https://youtu.be/J9tkSISXRds How to Install a Shed Window: https://youtu.be/L6pxrHfv_s4 How to Install Shed Siding Veneer: https://youtu.be/2SQKY-spzDk How to Install a Roll-Up Door: https://youtu.be/VnjLM9KNomM How to Build a Shed Ramp: https://youtu.be/iEzYHe12DLM How to install asphalt shingles on a shed roof: https://youtu.be/9ZyUXLy4zK8 How to Add Electricity to a Shed: https://youtu.be/-pRhVgcqa1M How to Organize Your Shed Storage: https://youtu.be/qmhCtR9W1TE Be sure to subscribe and hit the notification bell so you don't miss any videos in the Modern Shed Build Series! If you want to learn how to build the EXACT shed shown in the video, I put together "The Modern Shed Build Course" (https://bit.ly/3PeKr4V) which includes a materials list🧱, tools list 🛠, and cut list 🪚for each step of the entire shed build process. Basically, this course makes it feel like you built this shed alongside me! Every purchase helps support the channel! Follow me on Instagram: https://www.instagram.com/atimprovements/ Check out my Blog: Atimprovements.com Subscribe to my YouTube Channel ⬇️ https://www.youtube.com/c/AndrewThronImprovements?sub_confirmation=1 Check out my Website for additional DIY Content: https://atimprovements.com 🎥 MY YOUTUBE GEAR Camera (Iphone Max): https://amzn.to/3d5HxSo Microphone (Maono Condenser Mic): https://amzn.to/3RCAb7N Tripod: https://amzn.to/3Rz5Gj3 Mini Tripod: https://amzn.to/3Rvt2WM Lighting: https://amzn.to/3d4QdZ5 🛠🧰 TOOLS THAT I USE Carbide Tipped Drill Bit: https://amzn.to/3S0hdIM Tapcon Screws: https://amzn.to/3OxEWxh Drill: https://amzn.to/3JICKkk Tape Measure: https://amzn.to/3HaTWgE Circular Saw: https://amzn.to/3BFotC4 Masonry Drill: https://amzn.to/36yP1JW Level: https://amzn.to/3HowUDn Hammer: https://amzn.to/35fIpiT Chalk Line: https://amzn.to/3MwSDg8 Clamps: https://amzn.to/3HLqwpK Drill: https://amzn.to/3JICKkk Sawzall: https://amzn.to/3HcdeSI Circular Saw: https://amzn.to/3BFotC4 Jig saw: https://amzn.to/3I6lcyd Air Compressor: https://amzn.to/34TatJf Framing Nailer: https://amzn.to/3JGpBYU Roofing Nailer: https://amzn.to/3BEAuYF Orbital Sander: https://amzn.to/34UwlUD Bar Clamps: https://amzn.to/3JjFrJe *All content on the Andrew Thron Improvements YouTube channel reflects my own opinions. Please seek out guidance of professionally trained and licensed individuals before making any decisions. Links in the description may be affiliate links.


![Small Bathroom Remodel Time Lapse [Converting a Half Bath to Full Bath]](https://imgz.pc97.com/?width=500&fit=cover&image=https://i.ytimg.com/vi/-MsdKLJrAS8/hqdefault.jpg)
![Hexagon TILE installation [How to TILE bathroom floor with Hexagon Tiles]](https://imgz.pc97.com/?width=500&fit=cover&image=https://i.ytimg.com/vi/wqqx5meNZS0/hqdefault.jpg)
Transform Your Floors Today
AI-recommended products based on this video

TESPERT Pool and Spa Test Strips Hot Tub Test Strips 7-in-1 125 Strips Pack, Chemistry Test Kit for Test Bromine, Total Alkalinity, pH, Free Chlorine, Total Hardness, Cyanuric Acid, and Total Chlorine

Luxbird 7 in 1 Aquarium Test Strips, Fish Tank Test Kit, 100 Strip Pack, Freshwater Aquarium Test Kit to Detect pH Nitrite Nitrate Chlorine Carbonate Total Alkalinity Hardness

NuGrain Wood Repair Kit, Professional Floor Scratch Repair- Restores Scratch, Covers Nicks, Marks, Minor Defects,Restore a Finish for Wood (1pcs)
Whitebite Pro Professional Teeth Whitening Kit for Sensitive Teeth | LED Light Accelerator | 4 Whitening Gels (35% Carbamide Peroxide) & 2 Remineralizing Gels | Professional Dental-Grade | Enamel Safe

AYASAL Lash Lift Kit Eyelash Perm Kit, with Detailed Instruction Eyelash Lift Kit, Easy for Beginner and Professional Lash Perm Kit, Achieve Salon-Quality Lashes Lift with Safe and Effective Result

Nail Polish Pens - 5.46*5.39inch Gel Nail Pens Kit, Nails Art Markers Doodle Pen, Professional Nails Art Markers, Naiil-Art Tools For Polishing, Graffitii Dotting Arts Tools For Kids Girl Adults Begin
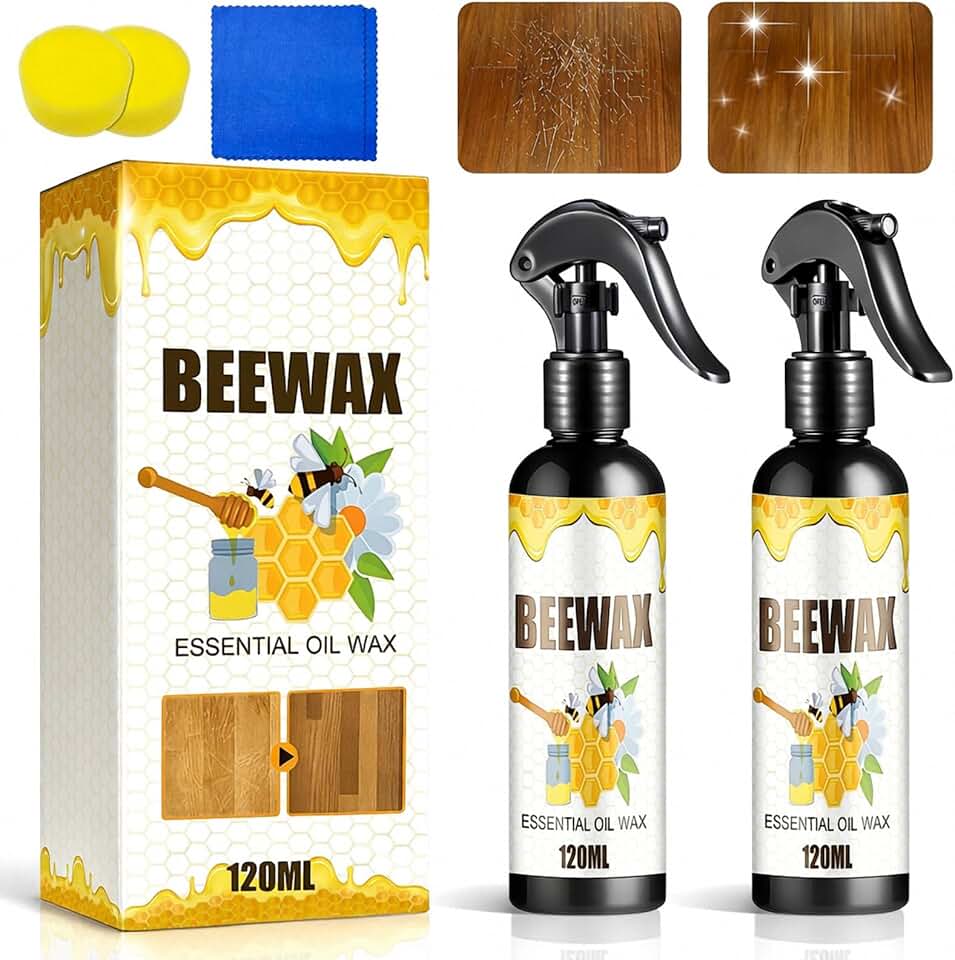
Natural Beeswax Care Spray & Restorer, 2026 Upgraded Multi-Purpose Beeswax Wood Polish for Floors And Furniture, Natural Micro-Molecular Spray (1Pcs)
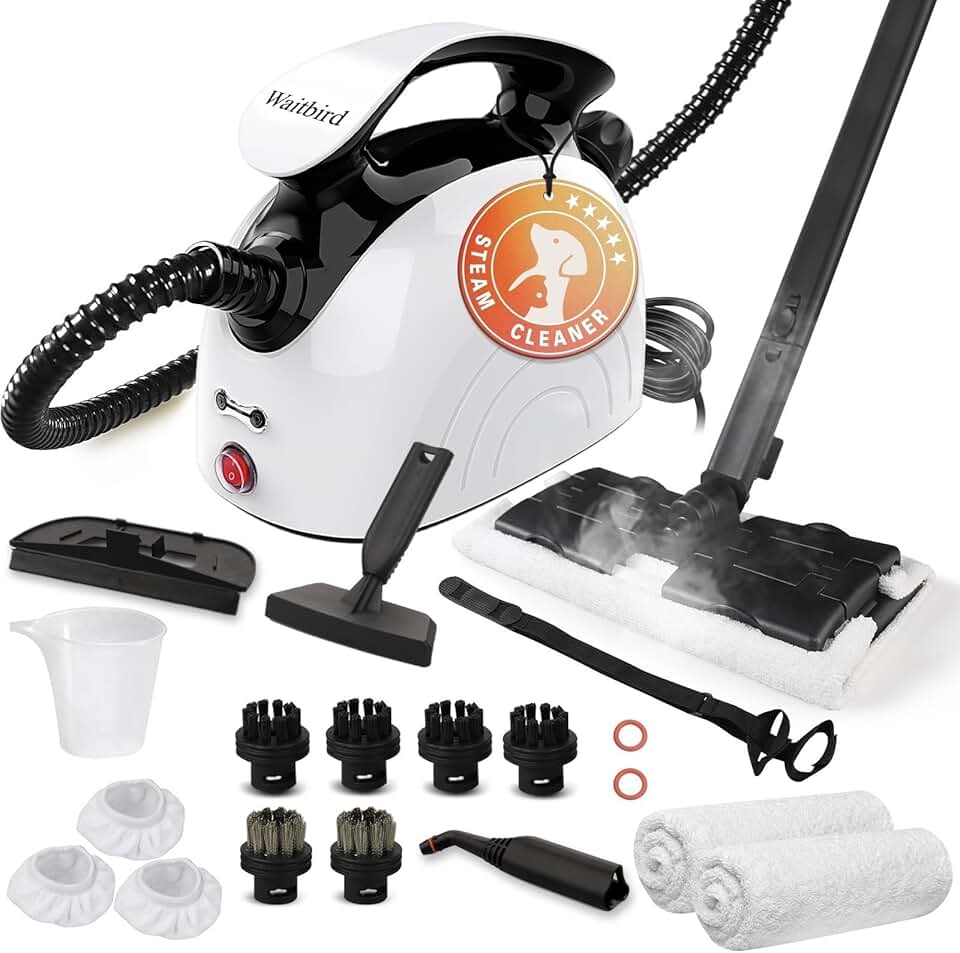
Steam cleaner, multi-purpose steam engine with 21 accessories, 248 ° F high-temperature steam, suitable for floors, kitchen oil stains, tiles, carpets, cars, toilets

Steam Cleaner, Multipurpose Powerful Steamer with 21 Accessories, 248°F High-Temperature Steam for Floors, Grout, Tiles, Carpet, Cars - Portable 1.08L Tank, Child Lock, Chemical-Free Cleaning (White)

Multi-Function Steam Cleaner, Portable Steam Cleaner with 21 Accessories and Safety Lock, Handheld Steam Cleaner for Furniture, Tiles, Floors, Windows, Cars, Sofas, Bathrooms (Yellow)

Magnetic Nasal Strips Starter Kit: Comfortable Nasal Breathing Support for Sleep, Helps Reduce Snoring Noise, Includes 60 Tabs (30 Uses) with 4 Sizes

Environet Hydroponic Growing Kit, Self-Watering Mason Jar Herb Garden Starter Kit Indoor, Windowsill Herb Garden, Grow Your Own Herbs from Organic Seeds (Basil)

Herb Garden Planter Indoor Kit 21Pcs Kitchen Herb Garden Starter Kit Growing Kit Including Wooden Box Burlap Pots Soil Discs Gardening Tools Unique Easter Birthday Christmas Gift Ideas for Women Mom

Bonsai Starter Kit – 1x Bonsai Tree | Complete Indoor Starter Kit for Growing Plants with Bonsai Seeds, Tools & Planters – Gardening Gifts for Women & Men

Ailgely Kids Bike Helmet Detachable Full Face Helmet Children Sports Safety Helmet for Cycling, Skateboarding, Roller Skating,Scooter, Protective Gear
