Making a Pebble Cup from start to finish - Satisfying Pottery

Old Forge Creations
@oldforgecreationsAbout
A graphic designer turned self-taught ceramicist, working out of a tiny studio in Surrey, UK.
Latest Posts

Video Description
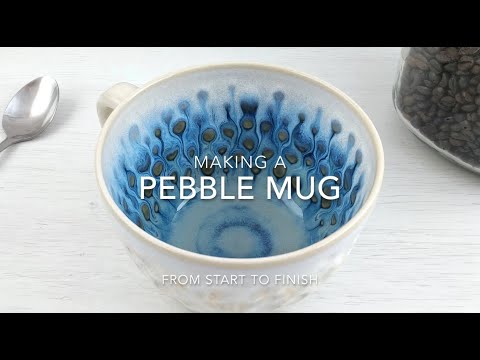
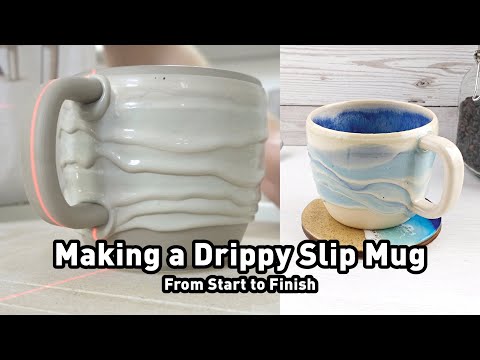
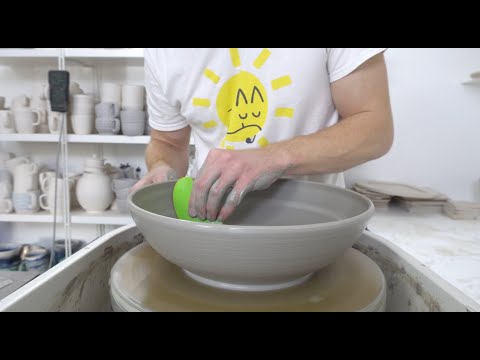
The full process of making a Pebble Cup/Mug. First, the clay needs to be wedged and weighed. I'm throwing a medium size here, so I use 350g of clay for a finished capacity of around 350ml. Then the mug is thrown. This is the stage that people think of handmade mugs, but in reality it's one of the faster processes. The clay is centred first, then opened, and the walls are pulled up. I then use a rib to smooth the inside as any marks left in the wall will show when it's stamped. The body is left on the batt overnight before being brought back to the wheel and trimmed. This lets me reduce the weight before adding the stamped pattern, as it wouldn't be possible afterwards. I use a pebble I found in the woods next to the studio to stamp the pattern into the clay. I try and be as random as possible with the size and depth of the pattern as it gives a really nice variety to the glaze flow. They're left in a sealed plastic box overnight to firm up a little more. The handles are extruded and left until they are the same level of dryness as the body (the time varies with the weather), then the foot of the mug is trimmed and the handles are attached. The mugs are then left to dry slowly for about a week before they're loaded into a bisque firing (1025°c), which turns the clay into ceramic. They can now be glazed. I wax resist the foot of the piece, allowing my car dent puller to grip them. I glaze the outside first, then pour the glaze into the inside. The glazes used here are Selsor Chun, Heath A2V Ivory, and Floating Blue, and the recipes are on glazy.org. They are then left overnight to dry before being loaded into a cone six (approx 1200°c) firing, where the glazes melt together and flow over the stamped texture to form the final pattern. There are guides that go into a bit more depth on my blog: https://www.oldforgecreations.co.uk/blog but if you have any questions, post them in the comments and I'll answer as best I can! Link to the tools: https://www.oldforgecreations.co.uk/recommended-tools ---- For examples of my work that's been glazed, check out my Instagram: https://www.instagram.com/oldforgecreations/ Buy my work, or read more on my blog: https://www.oldforgecreations.co.uk/shop
You May Also Like


Pottery Essentials You Can't Miss
AI-recommended products based on this video

Crovakeu Professional Lock Pick Set - 1-Piece Compact Locksmith Tools Kit with Practice Locks for Beginners & Pros - Portable Lockpicking Tools for Fidget, Stress Relief & Skill Training

10 Herb Garden Planter Indoor Kit, 44pcs Complete Kitchen Herb Starter Set Including Burlap Pots, Markers, Soil Discs, Gardening Tools, Unique Easter/Birthday/Christmas Gift Ideas for Women, Mom

12 Colors Nail Art Pens Set, 2026 Upgraded Nail Art Markers for Adults, Nails Polish Pens, for Diy Nails Arts Beauty Adorn Manicure Tools for Home Salon Christmas New Year Decoration
